Last week’s blog post centered around providing information about the various options for treating Varroa Mites. This week I had the opportunity to attend our beekeepers club’s annual Varroa Mite Workshop with our region’s state bee inspector, Lewis Cauble. After this workshop, I have come to a decision about my treatment option for Varroa Mites. We’ll discuss that in just a bit, but first it’s time for some updates from the bee yard.
Hive Updates
Last week I was thrilled with the progress in my hives and the ongoing surprises. So, let me bring you up to speed what has happened this week.
The activity in all hives has picked up and all of them have started bringing in significant amounts of pollen again. The asters have started blooming hear as well as goldenrod and a host of other flowers that haven’t normally been blooming this early.
Hive Acquitaine
After Saturday’s workshop, I came home and decided to perform inspections on Hive Acquitaine and the nucleus hive. It was a little later than I normally like to inspect the colonies but I decided it would be better to break the inspections up over two days. Since I knew this colony needed to draw lots of comb, I was curious if they had drained the top hive feeder.
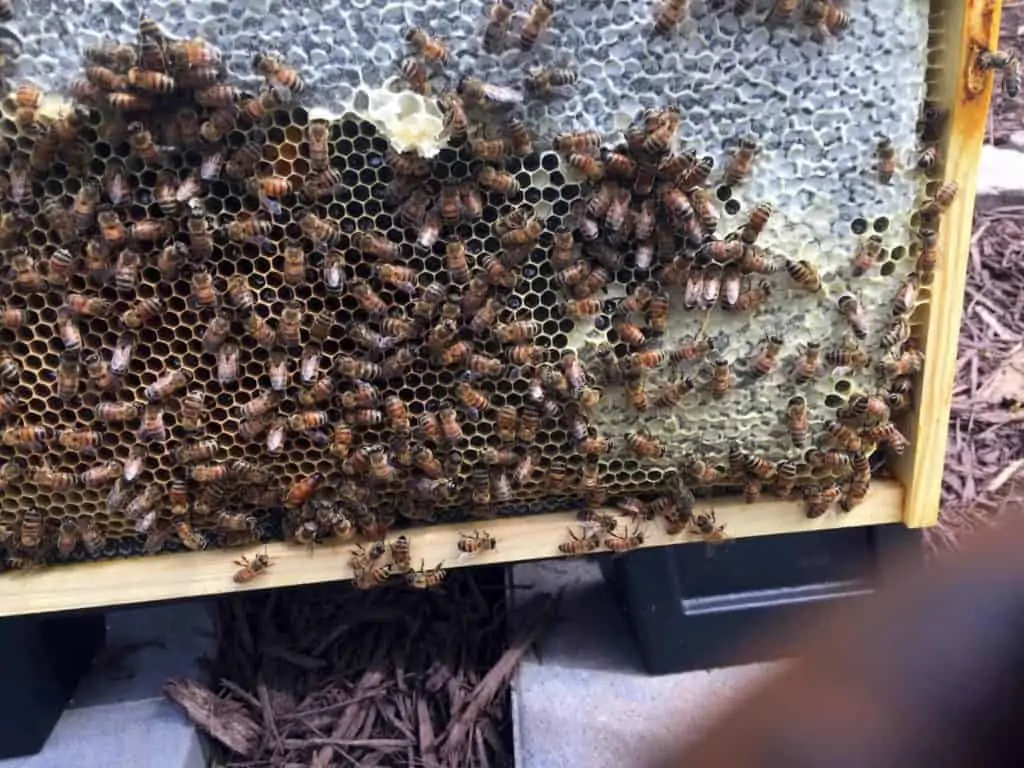
The workers had indeed drained the top hive feeder, obviously to assist them in drawing new comb. In fact, when I checked the upper deep box, the workers have drawn comb on 7 of the 10 frames. I am going to have to place a medium box very soon to keep this hive expanding naturally.
Eleanor has very quickly laid eggs in almost all of the new comb. Checking the frames, I quickly realized Eleanor was not present in the upper box. Having run out of space for laying, she has moved downwards into the bottom deep box.
Last week, I opted not to disturb the bottom deep box so I figured it would be good to see what Eleanor was up to. I completed a very thorough inspection of the bottom brood box. I found some young larvae and a few eggs. Eleanor was busily searching for open cells to lay eggs. She’s become quite adept at filling the frames with a beautiful brood pattern.
Luckily, there were no queen cups with occupants and only one empty queen cup which I took the time to tear down. After all my early worries, this colony has come on strong and is progressing quite nicely. I need to locate the yellow jackets nest that has to be nearby. They are becoming a nuisance.
Nucleus Hive
The nucleus hive is down a bit in population which is not really all that surprising given their queenlessness. When I examined the frames, I found no emerged queens but, one frame contains two very beautiful capped queen cups. One is really quite large and I am rooting for her to emerge first.
Since I have now had one colony raise its own queen successfully, I think I may very well have the critical mass of drones in my colonies to support queen rearing. With so little brood left, time is of the essence for this colony.
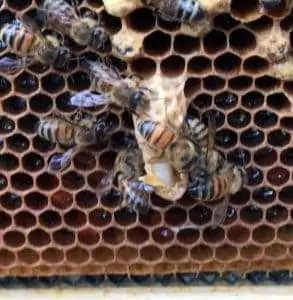
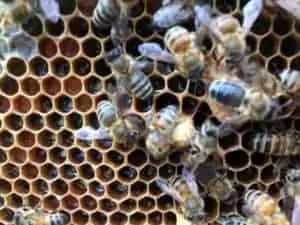
I will be checking this hive a couple of times over the next few days to watch for the emergence of the queen and to determine if I need to infuse the colony with a frame of brood and nurse bees from one of my stronger colonies. They may need the extra help to get started.
Hopefully, in a few weeks, I’ll get to name a new colony and a new queen bringing my bee yard up to a total of four hives.
Hive Olympus
Last week, I was disappointed to see no significant levels of brood in this colony. Remember, I was quite proud of Hecate’s ability to make this my strongest colony. But, the bees killed her in lieu of the queen they raised.
Athena is a quite beautiful Italian queen. I did not get a picture of her this week as I was marking her. She is a golden brown and likely has a bit of Carniolan in her from her mother.
Last week, Athena was still not as bulked up as a normal queen but a week changed a lot. She has the full-sized abdomen and is beginning to lay eggs. The frames had both eggs and larvae present this week, which was exciting. Athena’s progress so far is following the normal progression of a newly mated queen.
An Elusive Queen
So, I had quite the adventure trying to mark Athena! I took the frame with her on it, and sat down so that I could prop on my legs and work with my hands to mark her. I tried one of those queen enclosures that press into the comb first. Nearly useless as it caught too many workers with the queen and you couldn’t see well through the mesh. So, I worked my marker until I was seeing yellow paint. Then, I relocated the queen.
As soon as Athena saw me coming she was off to the races! It was truly an Olympian fete of prowess how quickly she disappeared. Athena, if you remember your Greek mythology, borrowed the Helmet of Invisibility from Hades to assist a mortal. So, Athena has a great name because once I did get her marked she got angry, called her warriors, and flew from the frame.
I thought I had lost her and started putting the hive back together in hopes that the activity would draw her back. Little did I know, she had landed on my cap and proceeded to crawl down the veil to the hive when I stooped over it. I caught her in my glove and put her on the frame. She seemed fine and was crawling around quite agitated over her adventure.
Crisis Averted
With the crisis averted, I continued my work closing up the hive body and completing this inspection. I have a feeling this queen is just going to be a constant surprise! I do think that she isn’t entirely an Italian, but is an Italian-Carniolan mix. She has the golden coloration of the Italian queens but her abdomen right at the final tip is almost the chocolate brown color of her mother, Hecate. So my lost queen is still present to some degree.
Hive Florence
Hive Florence was a bit excitable even at the start of their inspection. As soon as I finished inspecting the honey super, on which they are just beginning to draw new comb, I began my work on the medium box.
Almost immediately, one of the workers flew out of the hive straight to my cap which had stuck to my forehead from sweat, and stung me. Having no time to deal with stings, I wiped the stinger out and kept working. I believe they were alerted to what was going on next door in Hive Olympus and were already irritated with their keeper.
The medium box in Hive Florence is filled with honey just like the medium box in Hive Florence. It is impressive and HEAVY! I am debating pulling five frames from each and harvesting that honey but fear that it will be too much off my hives and leave the bees with too few stores for the winter.
This week my suspicions that this colony was about to stop feeding on the sugar water came to fruition. Barely a dent in the sugar water since my last inspection. Rather, the top hive feeder was serving as a great breeding ground for small hive beetles. I killed three of them and dumped the sugar water.
Long Live Beatrice II!
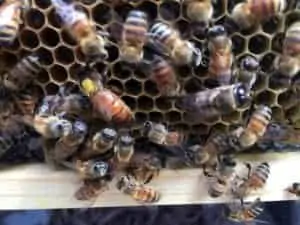
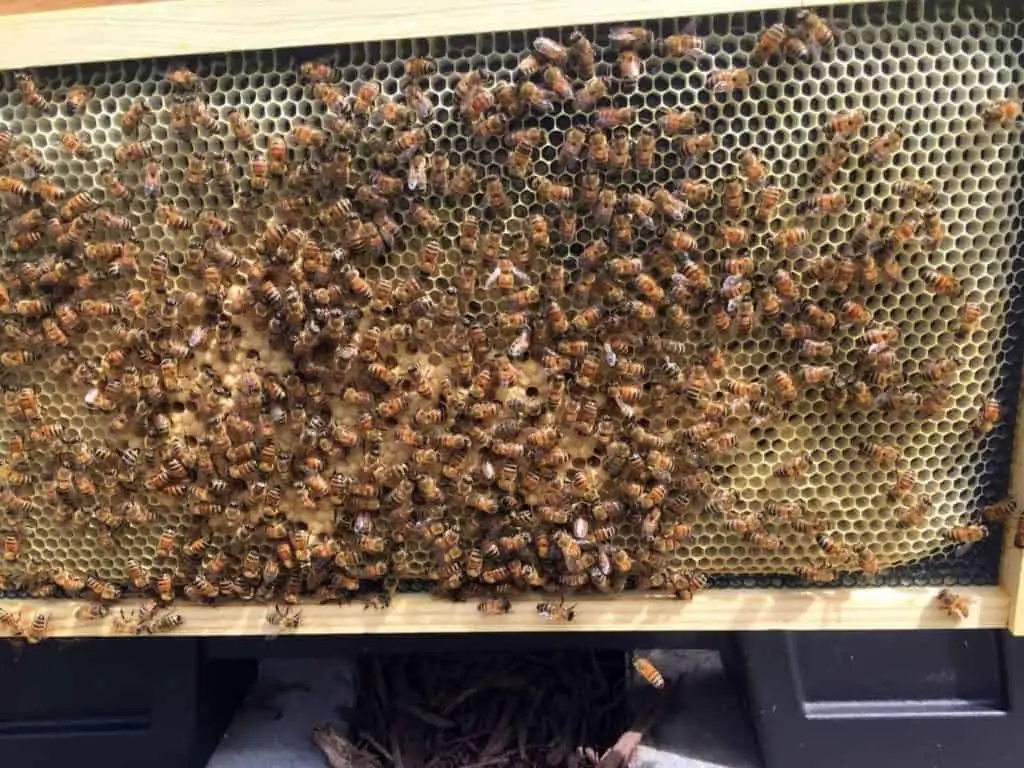
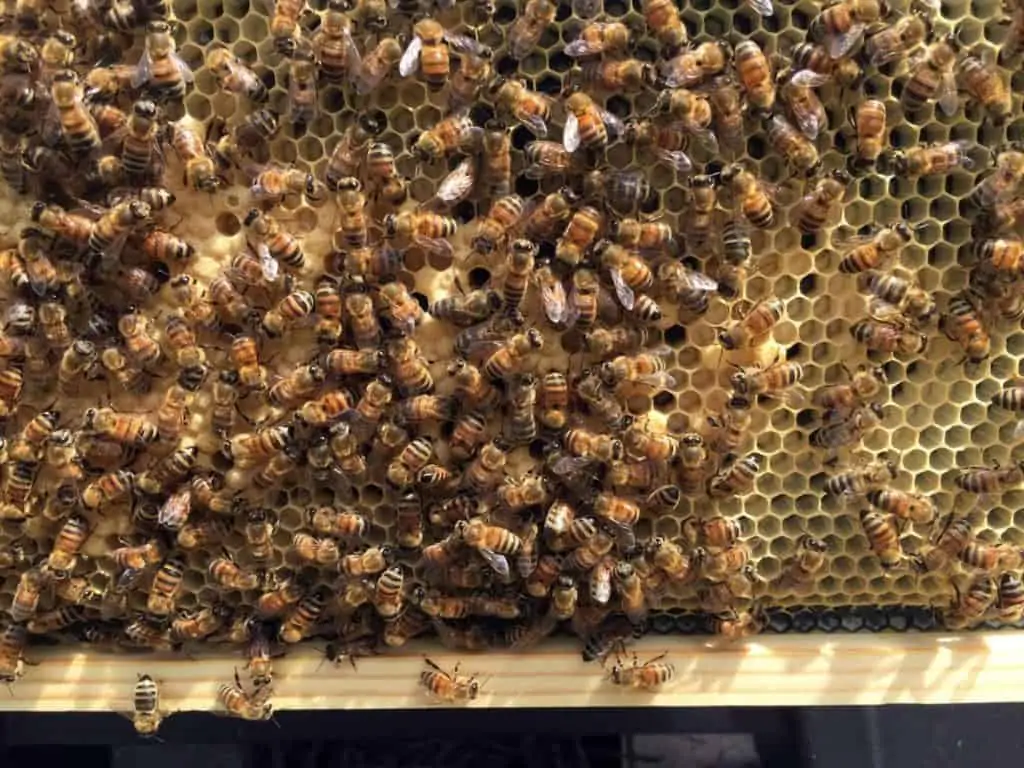
Beatrice II has begun putting together a really impressive brood pattern as you can see in the images I’ve included with this post. Eggs and young larvae are filling up the cells in much of the newly drawn comb that is now only a week or two old.
Beatrice II has turned out to be a beautiful Italian queen which you can see from her photographs (she’s quite photogenic)! I had run out of energy by the time I inspected this box and figured it was better to stop and check the bottom box next week. The heat and humidity simply drained me too much during this inspection. And I’ve learned, when you’re fatigued, you make mistakes that make the bees angry.
This colony has a really large population and is performing well. There were a couple of empty queen cups that were in the upper brood box where Beatrice has been. I tore them out. None of them were in the swarm position and none were occupied. So I have no fears of any being in the bottom brood box.
Choosing a Treatment for Varroa Mites
Last week, I reviewed the various possible treatments for Varroa Mites. I want to continue that discussion this week and complete the circle explaining my choices for treatment methods.
As I mentioned, on Saturday, our beekeepers club met for its annual Varroa Mite workshop. Since there were a number of new beekeepers present, our region’s bee inspector demonstrated the sugar roll test a number of times. I just successfully performed one just a week ago and am going to perform a follow-up now that I have a better idea of what I should be doing.
It was impressive that among the hives brought to the extension center for testing, not one of them tested with more than two varroa mites in a sample of 300 bees. He was both amazed and impressed that our beekeepers were taking Varroa Mites seriously!
In North Carolina, Varroa Mites may be battled with 9 registered miticides. In the southern United States, due to the temperatures, the bee inspector broke the 9 registered miticides into three groups: Miticides for this time of year (August in the South), Miticides never to use, and Miticides for later in the year when no or little brood is present. Let’s deal with each of these groups.
Miticides Never to Use
- CheckMite+
- Apistan
Miticides for this Time of Year
- Apivar
- Apiguard
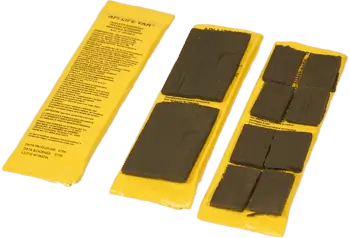
- Api Life Var
- MiteAway Quick Strips
- Formic Pro (no I didn’t talk about this one last week because its NEW!)
Miticides for Later in the Year (Little to No Brood Present)
- Oxalic Acid
- Hopguard II
Formic Pro
Before I delve further into my choice, I need to mention Formic Pro.
Formic Pro is manufactured by NOD (Natures Own Design), the makers of MiteAway Quick Strips. Formic Pro comes in strips just like MAQS and may be used during the honeyflow. There are two treament options for this new treatment: 2 strips for 14 days or 1st strip for 10 days remove and replace with 2nd strip for an additional 10 days.
It has a reported average 83-97% efficacy, as well as causing mortality to mites under the brood cap. Just like MAQS, it is used in the same specific temperature range as MAQS but has a 24 month shelf life when stored out of sunlight and at 77° F or less.
This looks to be a promising option for next season here in North Carolina.
Narrowing Down the Choice
I had already ruled out CheckMite+ and Apistan, as I mentioned last week that they have documented evidence of mite resistance due to overuse. So I was proud that I had already ruled out two treatments.
I also knew that Oxalic Acid was not effective and could be harmful for brood when lots of brood is present in the colony. Oxalic Acid will not penetrate the capped cells to get at the breeding population of mites sheltering with the brood.
Hopguard II seemed an iffy solution with complaints about a changing formulation and less than stellar statistical data that it works effectively.
So, I had already decided that I would be using one of four options: Apivar, Apiguard, Api Life Var, and MiteAway Quick Strips.
If you remember, there are some specific temperature requirements for Api Life Var and MiteAway Quick Strips in particular. Api Life Var should be used when temperatures are between 65-85° F. Using Api Life Var this time of year in North Carolina is a dangerous proposition. Temperatures easily run over the 85° F limits most days this time of year. I like the treatment generally but can’t use it at this time.
MiteAway Quick Strips is a closer call. The temperature range given for use of these strips is between 50-92° F. And, there is a specific admonition that temperatures above 92° F can cause brood and queen mortality or even cause your bees to abscond. So with temperatures being close to and over this on any given day here, I am reticent to use it at this time.
The Choice
In the end, I decided that my treatment for August will be Apivar. Apivar is a synthetic treatment. Given how highly effective Apivar is, I will overlook my dislike of the synthetic chemical treatment.
I also like the fact that it is a 42 to 56 day treatment via the strips so that it will keep killing Varroa Mites through successive generations as brood emerge allowing the sheltered mites contact with the control measures.
To ensure that my treatment was effective, I will test for Varroa Mites after the treatment is complete. Post-treatment monitoring is crucial to ensuring that you were successful.
I also decided that I will use one of the natural control mechanisms in the spring. I’m still trying to decide between Formic Pro and Api Life Var. I like both and both are effective. It is likely I will go with one of these treatments in the Spring.
I will also try to monitor Varroa Mites right up until the time I stop inspecting the hives due to cooling weather.
If I have doubts about mite counts in December, I may very well try a treatment of Oxalic Acid. It is a perfect treatment to knock down any late season growth spurt these nasty little creatures may put on.
So to recap, my choices are as follows:
- Apivar (late August)
- Formic Pro or Api Life Var (early Spring)
- Oxalic Acid (December)
If my monitoring in September were to show that Apivar has not been effective, the temperatures will be conducive to Api Life Var. If needed, I will use it in late season before the temperatures are too cool.
And don’t forget, the Honey Bee Health Coalition has a really great resource about Varroa Mites available at https://honeybeehealthcoalition.org/varroa/.
Coming Next Week
Next week, we’ll continue to discuss how things are going in the bee yard. I also hope to reveal the name for my Apiary. I’ve been going back and forth with names and need to give it a name. Stay tuned! And, I want to address some things we need to start thinking about as we move into late summer towards the fall.
Until next time, Happy Beekeeping!
